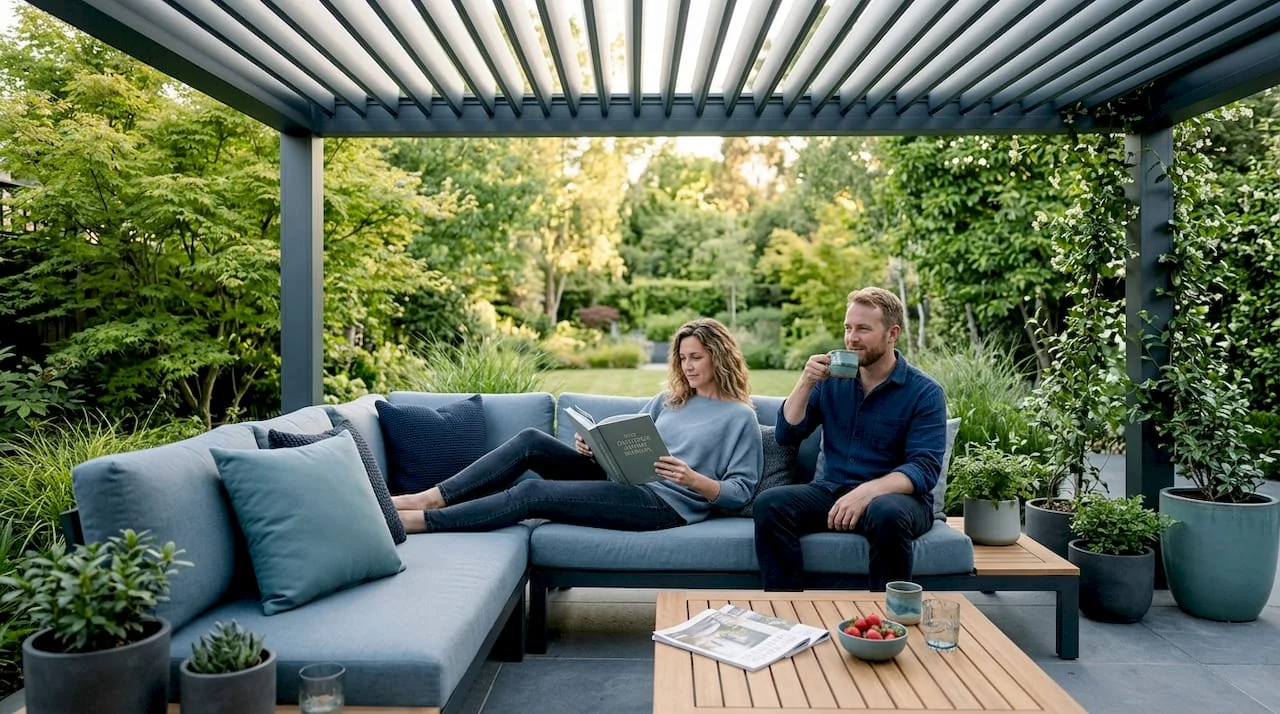
Water therapy, or hydrotherapy as it is formally known in clinical and wellness settings, has quietly moved from hospital rehabilitation centers into everyday bathrooms and backyards. If you have ever soaked in a hot tub after a long week and felt genuine relief in your muscles, you have already experienced the core idea. A real hydrotherapy at home workflow goes further than a casual soak. It gives you repeatable steps, the right temperatures, timed sessions, and safety measures that protect you while maximizing the benefits. This guide walks you through exactly that, from tools and setup through warm water sessions, cold plunges, and contrast therapy.
Table of Contents
- Key takeaways
- Your hydrotherapy at home workflow starts with the right setup
- Warm water session: step-by-step workflow
- Safe cold plunge workflow for home use
- Contrast therapy: alternating warm and cold at home
- Avoiding common mistakes in your routine
- My honest take on building a home hydrotherapy practice
- Ready to build your ideal home setup?
- FAQ
Key takeaways
| Point | Details |
|---|---|
| Workflow beats guesswork | Structured sessions with timed exposure and temperature checks produce better results than casual soaking. |
| Temperature precision matters | Warm therapy targets 90–100°F; cold plunges for beginners stay between 55–59°F for safety and effectiveness. |
| Safety comes before entry | Non-slip surfaces, grab bars, staged towels, and a timer are non-negotiable parts of any home setup. |
| Contrast therapy is powerful but nuanced | Alternating hot and cold cycles can ease fatigue, though individual tolerance guides how far you push. |
| Track what you feel | Keeping a simple session log helps you spot what works, adjust timing, and catch early warning signs. |
Your hydrotherapy at home workflow starts with the right setup
Before you run a single drop of water, you need to know what you are working with. The good news is that home hydrotherapy is accessible with minimal equipment. A standard bathtub and an inexpensive waterproof thermometer are enough to get started. More advanced setups, like dedicated hot tubs, swim spas, or cold plunge tubs, give you more control and comfort but are not required for meaningful results.
Here is a breakdown of the most common home hydrotherapy tools:
- Standard bathtub: The most accessible entry point. Works well for warm soaks and basic contrast therapy when paired with a handheld cold shower.
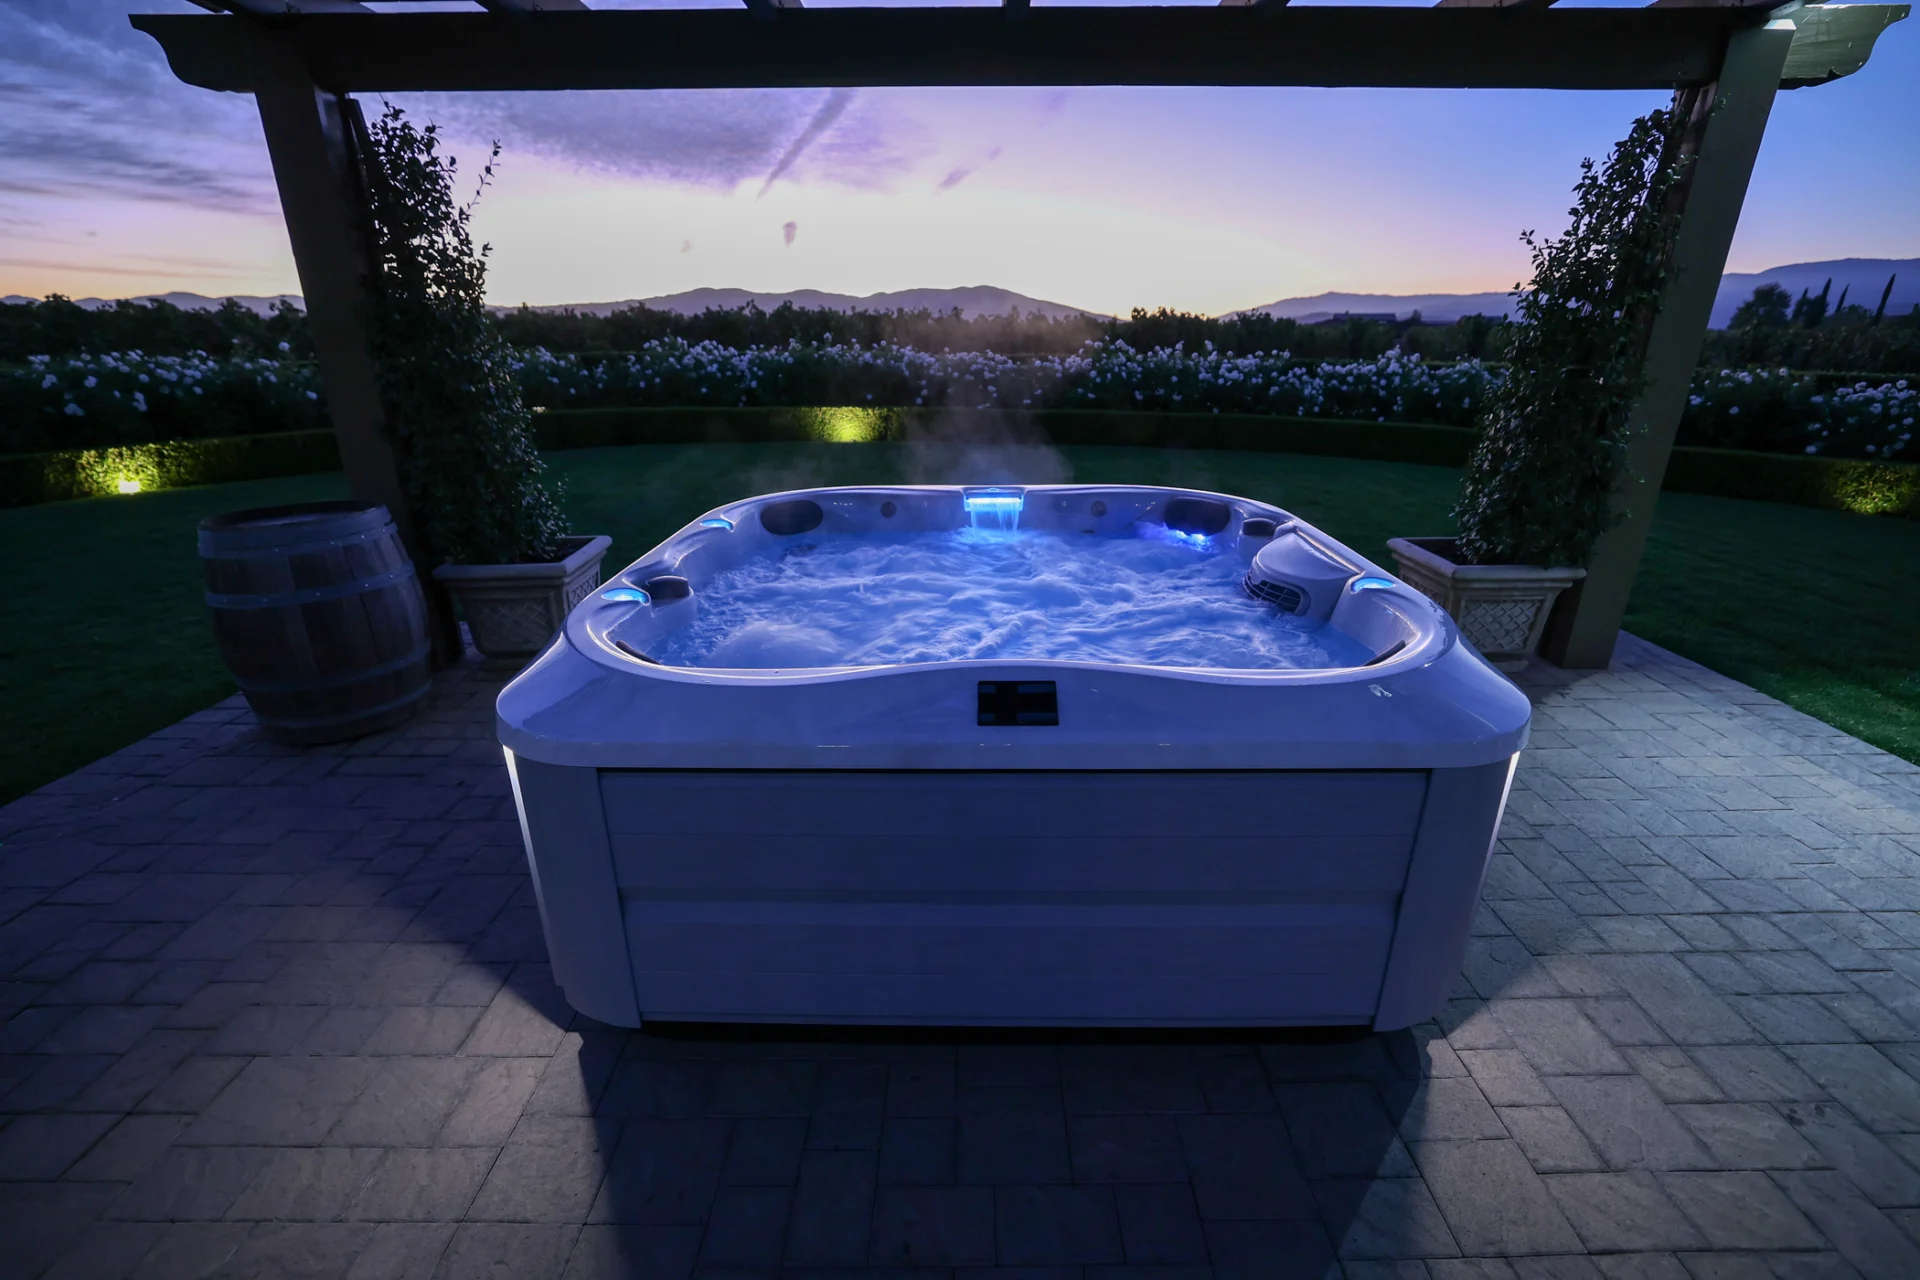
- Hot tub or spa: Allows precise temperature settings, jet massage, and longer sessions. Ideal for chronic pain management and deep relaxation.
- Cold plunge tub: A dedicated vessel for cold immersion, typically with insulation to hold low temperatures consistently.
- Swim spa: Combines warm hydrotherapy with aquatic resistance exercise, making it one of the most versatile home options.
- Thermometer: Non-negotiable for any session. Guessing water temperature is how people get hurt.
- Timer: Prevents you from losing track during relaxing warm sessions or dangerously extending cold exposure.
| Tool | Environment need | Complexity |
|---|---|---|
| Bathtub | Non-slip mat, grab bar | Low |
| Hot tub | Level pad, electrical hookup, cover | Medium |
| Cold plunge tub | Stable flooring, drainage, towel station | Medium |
| Swim spa | Outdoor pad, plumbing, electrical | High |
Every setup needs non-slip flooring, a clear path for stable entry and exit, and towels within arm’s reach before you step in. These are not optional extras. You can also consult a professional about thermostatic mixing valves to precisely regulate water temperature at the source, which removes one of the most common errors in home therapy setups.
Pro Tip: Buy a dedicated waterproof thermometer and keep it at your hydrotherapy station. Skin is a poor judge of exact temperature, and even a few degrees outside the target range changes both the safety profile and the therapeutic effect.
Warm water session: step-by-step workflow
Warm hydrotherapy is where most people start, and for good reason. Warm water increases blood flow, reduces joint stiffness, calms muscle spasms, and supports recovery from subacute and chronic pain. Here is how to run a proper warm session at home.
- Hydrate first. Drink 8 to 16 ounces of water before your session. Warm immersion causes you to sweat even when you do not feel it.
- Check the environment. Confirm non-slip surfaces are in place. Set fresh towels within reach. Remove any tripping hazards near the tub.
- Set water temperature. Fill your tub or heat your hot tub to 90–100°F (32–38°C). This range is effective for relaxation and pain relief without cardiovascular stress.
- Set your timer. Target 15 to 20 minutes. Going longer rarely adds benefit and increases fatigue and dehydration risk.
- Enter slowly. Lower yourself into the water gradually. Give your body 60 to 90 seconds to adjust before settling into a relaxed position.
- Stay aware. If you feel lightheaded, flushed, or short of breath, exit the water calmly. These are signs your body needs a break.
- Exit with care. Rise slowly, grip any grab bar or stable edge, and step out onto a non-slip surface.
- Warm down. Wrap in a towel immediately. Avoid sudden cold exposure unless you are intentionally moving into a contrast session.
- Rehydrate. Drink water or a light electrolyte drink within 10 minutes of finishing.
For specific guidance on using a spa for pain relief, the Lifestyleoutdoor resource on hot tub relaxation techniques offers additional depth on positioning, jet use, and timing.
Pro Tip: Schedule warm sessions in the early evening, about 60 to 90 minutes before bed. The gradual drop in core temperature after you exit mimics the natural cooling cycle your body uses to trigger deep sleep. Avoid sessions immediately after large meals, as warm immersion diverts blood flow from digestion.
Session frequency is personal. Some people benefit from three sessions per week; others do daily sessions during recovery phases. Start conservatively and increase based on how you feel.

Safe cold plunge workflow for home use
Cold water therapy occupies the opposite end of the spectrum but is equally grounded in real physiology. It is particularly useful for acute inflammation, post-exercise recovery, and mental resilience. The challenge is that cold shock affects dexterity and judgment within seconds of immersion, which means your safety setup must be complete before you ever touch the water. This is not the place for improvisation.
Before your session, confirm all of the following:
- Stable, slip-resistant flooring around and inside the plunge tub
- A sturdy grab bar or handle for entry and exit
- Warm towels and a dry robe staged directly next to the tub
- A visible timer you can read without your glasses or from the water
- A second person nearby if you are new to cold plunges
For beginners, the target water temperature is 55–59°F (12–15°C). Going colder before your nervous system adapts increases the shock response without adding proportional benefit.
Here is the step-by-step cold plunge workflow:
- Check water temperature. Use your thermometer to confirm you are within the beginner target range.
- Complete your pre-entry checklist. Towels staged, timer ready, flooring secure.
- Take three slow breaths. Controlled breathing before entry reduces the gasp reflex on contact with cold water.
- Enter feet first, slowly. Pause at your ankles, then knees, then hips. Give each stage five seconds before continuing.
- Set your timer immediately. Beginners start at 30 to 60 seconds. Work up to 2 to 3 minutes over several weeks.
- Keep breathing rhythmically. Do not hold your breath. Slow nasal breathing keeps the cold shock response manageable.
- Exit deliberately. Do not jump out. Grip the bar, step out carefully, and move to your towel station.
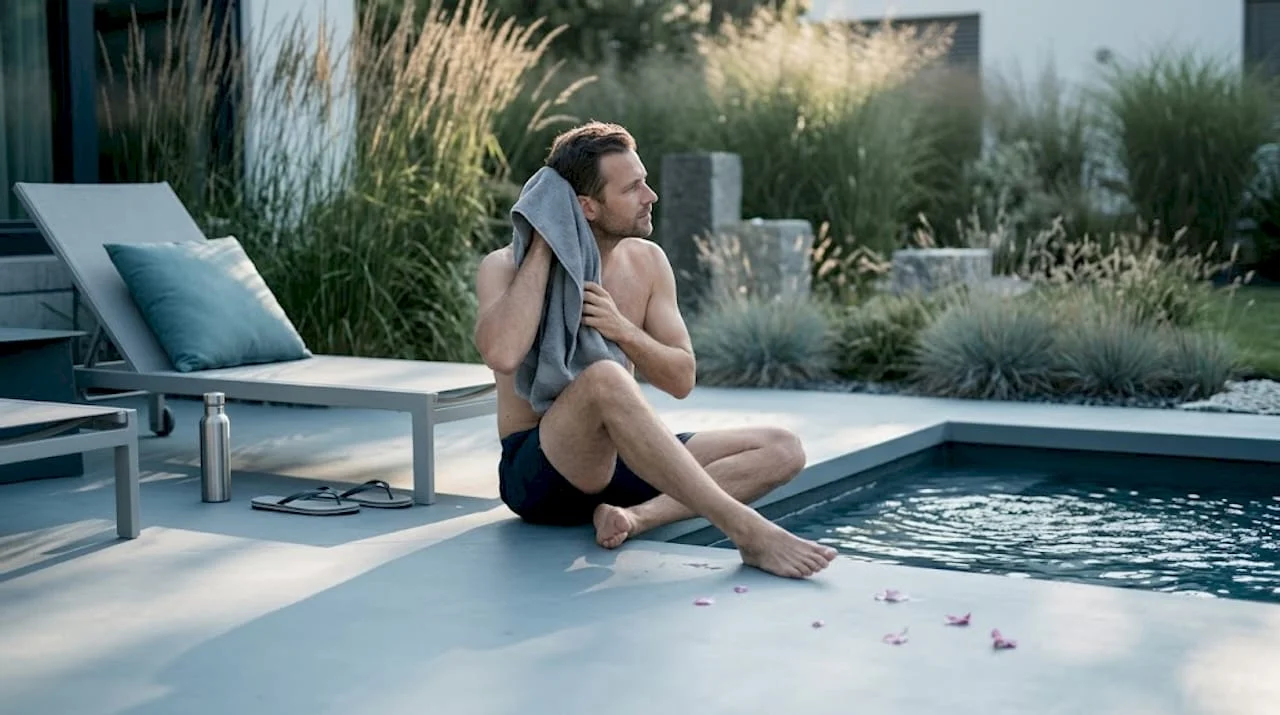
- Rewarm actively. Dry off, put on your robe, and walk around lightly. Avoid hot showers immediately, as sudden rewarming can cause blood pressure swings.
Clinical guidance notes that cold therapy is most effective for acute inflammation management, with sessions timed carefully to avoid tissue damage. For home use, this means short sessions repeated across the day if needed, not a single prolonged exposure.
Pro Tip: Print a laminated pre-entry checklist and mount it next to your cold plunge. When you are excited or cold-anxious before a session, your brain skips steps. A physical list removes that risk.
Contrast therapy: alternating warm and cold at home
Contrast hydrotherapy takes the two workflows above and combines them into a single, more demanding session. Research shows that alternating hot and cold cycles may reduce fatigue and blood lactate levels, though individual results vary. Athletes and active recovery enthusiasts tend to get the most from this approach, but homeowners managing chronic stiffness or workout soreness will find it useful too.
The basic protocol looks like this: hot water at 40 to 41°C for 60 seconds, then cold water at 20 to 21°C for 30 seconds, repeated three to five times. The ratio of hot to cold is typically 2:1. You always start and finish on warm, which helps the body consolidate the circulatory benefits.

Setting up contrast therapy at home requires either two vessels (a hot tub and a cold plunge side by side) or a single tub combined with a cold shower. The two-vessel approach is faster to cycle between and reduces the risk of slipping while moving between temperatures. The combination approach works fine for beginners experimenting with the practice.
Here is what to watch during contrast sessions:
- Stop immediately if you feel chest tightness, dizziness, or nausea
- People with cardiovascular conditions, Raynaud’s disease, or pregnancy should not use contrast therapy without medical clearance
- Shorter cycles are safer and often just as effective as longer ones when you are starting out
- Monitor how you feel for 30 minutes after your session to learn your personal response pattern
| Session type | Temperature target | Session duration | Key benefit | Main caution |
|---|---|---|---|---|
| Warm therapy | 90–100°F (32–38°C) | 15–20 minutes | Muscle relaxation, joint relief | Dehydration, overheating |
| Cold plunge | 55–59°F (12–15°C) | 30 seconds to 3 minutes | Acute inflammation, alertness | Cold shock, hypothermia |
| Contrast therapy | Alternating 40°C / 20°C | 15–25 minutes total | Recovery, circulation, fatigue | Cardiovascular stress |
Avoiding common mistakes in your routine
A well-designed water therapy workflow only stays effective if you execute it consistently and honestly. Most problems in home hydrotherapy come down to a handful of repeated errors.
- Wrong water temperature. Too hot strains the cardiovascular system. Too cold beyond your adaptation level triggers dangerous shock. Always verify with a thermometer, not your hand.
- Sessions that run too long. More time does not equal more benefit. Warm sessions beyond 25 minutes increase fatigue. Cold sessions beyond your personal threshold risk hypothermia.
- Skipping the environment check. A wet floor with no mat is the most preventable injury in home therapy. Do not skip setup steps because you are in a hurry.
- Ignoring your body’s signals. Lightheadedness, numbness that spreads, or an irregular heartbeat are stop signals. Exit the water calmly and rest.
- Neglecting equipment maintenance. Hot tubs and cold plunge tubs need regular water chemistry checks and surface cleaning. Warm, still water is a breeding ground for bacteria if left untreated. For specific safety practices, the Lifestyleoutdoor guide on hot tub safety tips covers water chemistry and hygiene in detail.
Adapting your routine based on how your body responds is a sign of good practice, not inconsistency. Safe workflow design means building in checkpoints at every session, not just the first few.
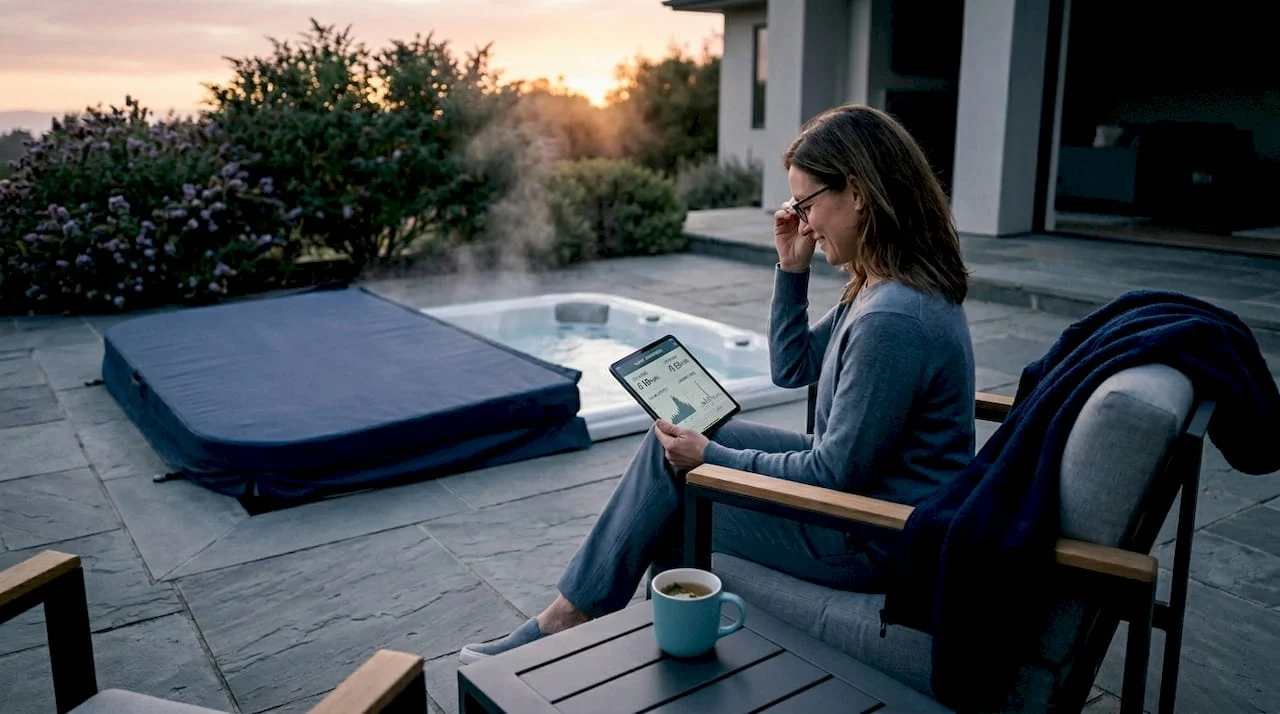
Pro Tip: Keep a simple hydrotherapy journal. After each session, record the water temperature, duration, and how you felt during and after. Within two to three weeks, patterns emerge that help you fine-tune your protocol far faster than intuition alone.
My honest take on building a home hydrotherapy practice
I have seen a lot of people approach home hydrotherapy the way they approach a new gadget. They read a bit, jump in too enthusiastically, and then quit after a rough session. What I have learned is that the workflow itself is the discipline. The temperature settings and timer are not bureaucracy. They are the thing that separates a therapeutic practice from an expensive bath.
What surprised me most was how much the environment setup matters relative to the water temperature itself. People spend hours researching the perfect hot tub but put down a single thin bath mat and call it done. A proper non-slip surface, a grab bar, and staged towels are what make the session feel effortless rather than stressful.
I also think the cold plunge gets oversold as a performance tool and undersold as a mental clarity practice. Even 45 seconds in cold water resets your nervous system in a way that 20 minutes of warm soaking does not. The two are not competing. They are complementary, and the most sustainable at-home wellness routine uses both intentionally.
Start with warm therapy three times a week. Add cold exposure once you can describe your warm protocol without looking at notes. Add contrast sessions only when both feel second nature. Patience here pays off more than intensity.
— Philipp
Ready to build your ideal home setup?

If you are ready to move beyond the bathtub and into a purpose-built hydrotherapy setup, Lifestyleoutdoor has everything you need in one place. The collection of premium hot tubs offers precise temperature control, therapeutic jet configurations, and designs built for daily use. For those drawn to cold therapy, the cold plunge tubs are designed with safety and consistent temperature maintenance in mind. If you want both warm therapy and aquatic exercise in a single unit, swim spas bring clinic-level versatility to your backyard. The Lifestyleoutdoor team supports you through product selection, installation guidance, and ongoing resources so your home retreat is safe, effective, and genuinely enjoyable from day one.
FAQ
What temperature should home hydrotherapy water be?
Warm hydrotherapy targets 90–100°F (32–38°C) for relaxation and pain relief. Cold plunge beginners should stay between 55–59°F (12–15°C) to manage the cold shock response safely.
How long should a home hydrotherapy session last?
Warm sessions run 15 to 20 minutes for most people. Cold plunge sessions start at 30 to 60 seconds and build gradually to 2 to 3 minutes as your body adapts.
Can I do contrast hydrotherapy at home without a second tub?
Yes. A hot tub or warm bath combined with a cold shower allows basic contrast cycles. A dedicated cold plunge tub alongside your hot tub makes transitions faster and safer, which is the preferred setup.
How often should I do hydrotherapy at home?
Frequency depends on your goals and personal tolerance. Many people start with three warm sessions per week and adjust based on how they feel. There is no universal schedule that works for everyone.
What are the biggest safety risks in home hydrotherapy?
The primary risks are slipping during entry or exit, overexposure to extreme temperatures, and cardiovascular stress. Cold shock impairs judgment quickly, making a complete pre-entry checklist and non-slip surfaces non-negotiable parts of any safe workflow.