Installing a backyard sauna feels overwhelming at first. Between permits, foundation choices, electrical work, and insulation decisions, most homeowners hit a wall before they ever break ground. But here’s the reality: a well-planned sauna installation follows a predictable workflow, and once you understand each phase, the project becomes far more manageable. This sauna installation guide walks you through every major step, from site selection and foundation prep to heater wiring and final inspection, so you can build a sauna that’s safe, efficient, and built to last for decades.
Table of Contents
- Key takeaways
- Your sauna installation guide starts with planning
- Foundation and framing for a stable sauna
- Electrical and heater installation
- Ventilation, interior finishing, and final assembly
- Maintenance tips and common mistakes
- What I’ve learned from watching sauna builds go right and wrong
- Build your backyard wellness retreat with Lifestyleoutdoor
- FAQ
Key takeaways
| Point | Details |
|---|---|
| Plan before you build | Permits, drainage, and electrical routing decisions made early prevent costly rework later. |
| Foundation type matters | Choose your base based on climate and soil; frost-prone areas need helical piles or concrete deck blocks. |
| Use mineral wool insulation | Mineral wool outperforms fiberglass in saunas because it resists heat, moisture, and off-gassing. |
| Hire a licensed electrician | Sauna heaters require dedicated 240V circuits with GFCI breakers, which are code-required in most regions. |
| Ventilation drives air quality | Proper vent placement achieves six air exchanges per hour, keeping the sauna safe and comfortable. |
Your sauna installation guide starts with planning
Before a single board goes up, you need a solid plan. Skipping this phase is the number one reason DIY sauna projects stall or go over budget.
Location selection is your first decision. Look for a level spot with good natural drainage, at least a few feet from property lines to comply with local setback rules, and reasonable proximity to your home’s electrical panel. Longer electrical runs cost more. DIY electrical work typically runs between $300 and $800 depending on distance from the panel, with total material costs ranging from $2,000 to $10,000.
Permits and codes are non-negotiable. Most municipalities require building permits for permanent outdoor structures and electrical permits for the heater circuit. Check your local zoning laws for setback requirements and height restrictions before you finalize your location. If you’re in Southern California, the local climate considerations for outdoor saunas differ meaningfully from colder climates, particularly around moisture management and foundation depth.
Here’s a quick overview of what you’ll need to gather before breaking ground:
- Site survey or rough plot plan showing sauna placement and setbacks
- Building permit application with dimensions and framing plan
- Electrical permit application specifying heater voltage and circuit details
- Material list covering lumber, insulation, vapor barrier, roofing, and interior paneling
- Contractor quotes for electrical work and any concrete foundation work
Pro Tip: Map your electrical route from the panel to the sauna location before finalizing placement. A 50-foot run versus a 150-foot run can add hundreds of dollars to your project.
A 5×7 foot sauna built by a motivated DIYer typically takes one to two weekends for the structure itself, with additional time for electrician scheduling and permit inspections. Build that coordination time into your timeline from the start.
Foundation and framing for a stable sauna
The foundation is where most DIY sauna projects succeed or fail long-term. Get this right and everything above it is straightforward. Get it wrong and you’ll be dealing with shifting walls, moisture intrusion, and rot within a few seasons.

Choosing the right foundation type
| Foundation Type | Cost | Pros | Cons |
|---|---|---|---|
| Concrete slab | $$$ | Maximum stability, excellent moisture barrier | Requires formwork, cure time, highest upfront cost |
| Gravel base with concrete blocks | $ | Affordable, good drainage, relatively fast | May shift in freeze-thaw climates without reinforcement |
| Helical piles or piers | $$$ | Best for frost-prone or uneven terrain | Requires professional installation |
| Concrete deck blocks | $$ | DIY-friendly, adjustable, good for level sites | Not ideal for clay-heavy or very soft soils |
Gravel bases with concrete blocks are cost-effective but may require reinforcement in frost-prone areas. If you live somewhere with hard freeze-thaw cycles, helical piles or concrete deck blocks set on compacted gravel prevent the misalignment and structural stress that gravel alone cannot.
Once your foundation is set, framing follows a familiar pattern for anyone who has done basic carpentry. Use 2×6 lumber for exterior walls to allow for adequate insulation depth. Space studs at 16 inches on center for structural rigidity. The critical detail most DIYers miss is the vapor barrier and thermal break. A continuous foil-faced barrier, sealed with foil tape at every seam, prevents moisture from migrating into your wall cavities and degrading your insulation over time. Vapor barriers and thermal breaks are not optional extras. They are what separates a sauna that lasts 20 years from one that starts rotting in five.

For insulation, mineral wool is the clear choice over fiberglass. Fiberglass off-gasses formaldehyde at the high temperatures inside a sauna. Mineral wool holds up thermally, resists moisture, and adds fire resistance. It costs slightly more, but the performance difference in a 180°F environment is significant.
Pro Tip: Install rigid foam insulation boards under your subfloor before framing the walls. This eliminates the cold floor effect and dramatically improves heat-up times.
Electrical and heater installation
Electricity is the one area of a sauna build where cutting corners can be genuinely dangerous. This section is also where local code compliance has real teeth.
Electric vs. wood-burning heaters
Most backyard sauna builds today use electric heaters, and for good reason. Wood-burning heaters face local restrictions due to smoke ordinances, particularly in urban and suburban areas. Electric heaters provide precise temperature control, require no chimney, and are far easier to permit. If you have your heart set on a wood-burner for the traditional experience, verify your county’s air quality regulations before purchasing.
For electric installations, here is what code requires in most regions:
- A dedicated 240V circuit from your main panel, sized to your heater’s wattage (typically 20 to 60 amps)
- A GFCI breaker at the panel, not just a GFCI outlet. Dedicated 240V circuits with GFCI breakers are mandatory in many regions for sauna safety.
- A licensed electrician to pull the electrical permit and complete the final connection
- A timer and thermostat wired according to the heater manufacturer’s specifications
A note on heater placement: Position your heater in a corner near the door on the wall opposite the benches. This pushes heat across the full length of the room and prevents the bench users from sitting directly above the heating element, which creates an uncomfortably hot and uneven experience.
Heater stone arrangement affects steam quality more than most people realize. Larger stones go on the bottom, smaller stones on top. This creates a stable thermal mass that holds heat evenly and produces smooth, consistent steam when you pour water.
Pro Tip: Schedule your electrician before you start framing. Good electricians book out weeks in advance, and waiting until the structure is complete can stall your whole project.
Ventilation, interior finishing, and final assembly
A properly ventilated sauna is a comfortable, safe sauna. Poor ventilation leads to stale air, excessive humidity, and accelerated wood degradation. It’s a step that gets glossed over in a lot of guides, but it deserves real attention.
Ventilation placement
Finnish building code standards target six complete air exchanges per hour inside the sauna. You achieve this with two vents:
- Intake vent placed near the floor, directly behind or beside the heater. This pulls fresh, cooler air in at the source of heat, preventing the cold floor effect and driving circulation upward.
- Exhaust vent placed on the opposite wall, near the ceiling. This allows stale, humid air to exit naturally as fresh air rises through the room.
Size both vents at roughly 4×6 inches for a standard 6×8 foot sauna. Larger rooms need proportionally larger vents.
Interior materials and finishing
Material selection for the interior directly affects both comfort and longevity. Here are the best choices for each surface:
- Paneling: Western red cedar and Nordic spruce are the two most common options. Cedar is naturally resistant to moisture and insects. It also stays relatively cool to the touch even at high temperatures, which matters when your skin contacts the walls.
- Benches: Use clear-grade cedar or aspen with no knots. Knots heat up faster and can cause burns. Sand all bench surfaces to 120 grit minimum and leave them unfinished so the wood can breathe.
- Flooring: Teak or pressure-treated decking works well for outdoor saunas with open floor plans. Avoid vinyl or laminate. They cannot handle the heat and humidity.
- Door: Choose a pre-hung sauna door with a double-pane tempered glass window. Orient the door away from prevailing winds to reduce heat loss during entry and exit. This one detail meaningfully improves energy efficiency over thousands of uses.
Pro Tip: Before your first heat-up, run the sauna empty at full temperature for 60 to 90 minutes with the vents fully open. This off-gasses any residual adhesives or lumber treatments and seasons the wood.
Once everything is assembled, walk through a pre-use inspection. Check all electrical connections, verify vent openings are unobstructed, confirm the heater guard is secure, and test the thermostat and timer at lower temperatures before you push the unit to full heat.
Maintenance tips and common mistakes
Even a well-built sauna needs consistent care to stay in peak condition. Neglect accelerates wood degradation, reduces heater efficiency, and creates safety risks over time.
The most common installation mistakes include:
- Skipping the vapor barrier or failing to tape seams, which allows moisture to migrate into wall cavities
- Under-sizing the electrical circuit, which causes repeated breaker trips and potential wiring damage
- Poor ventilation placement, leaving both vents on the same wall, which creates dead air zones
- Using standard construction lumber for benches without sanding and checking for knots
For routine sauna maintenance, establish a simple schedule. After each use, leave the door open and vents fully open for 30 minutes to let the interior dry completely. Wipe down benches with a damp cloth weekly. Inspect heater stones every six months and replace any that have cracked or begun to crumble. Check electrical connections and the GFCI breaker annually. In cold climates, inspect the foundation each spring for any shifting caused by freeze-thaw movement.
Pro Tip: Treat cedar bench surfaces with a sauna-specific wood conditioner once a year. Avoid any oil-based stains or varnishes. They seal the wood, trap moisture, and can emit fumes when heated.
Seasonal safety checks matter too. Clear debris from the roof and vents before winter. Inspect the door seal each fall to confirm it’s creating a tight closure. A compromised door seal adds meaningfully to heat-up time and operating costs.
What I’ve learned from watching sauna builds go right and wrong
I’ve seen a lot of sauna projects over the years, and the pattern is consistent. The builds that turn out beautifully are almost never the ones with the biggest budgets. They’re the ones where the homeowner spent an extra two weeks in planning before touching a single tool.
Foundation and moisture management are where most long-term problems originate. I’ve watched saunas that looked perfect at completion start showing rot at the base plates within three years because someone used a gravel-only foundation without accounting for clay soil and poor drainage. The fix costs far more than the extra day of foundation prep would have.
Heater selection surprises a lot of DIY builders. The instinct is to buy the biggest heater available, but an oversized heater in a small room doesn’t improve the experience. It creates uneven heat distribution and cycles on and off inefficiently. Match your heater’s kilowatt rating to your sauna’s cubic footage using the manufacturer’s guidelines.
Local permits surprise people too. I’ve seen projects delayed by six to eight weeks because the homeowner assumed the structure was small enough to skip a permit. One neighbor complaint or routine inspection later, and they’re tearing out finished work to show a building inspector what’s behind the walls. Pull the permits. It protects your investment and your home’s resale value.
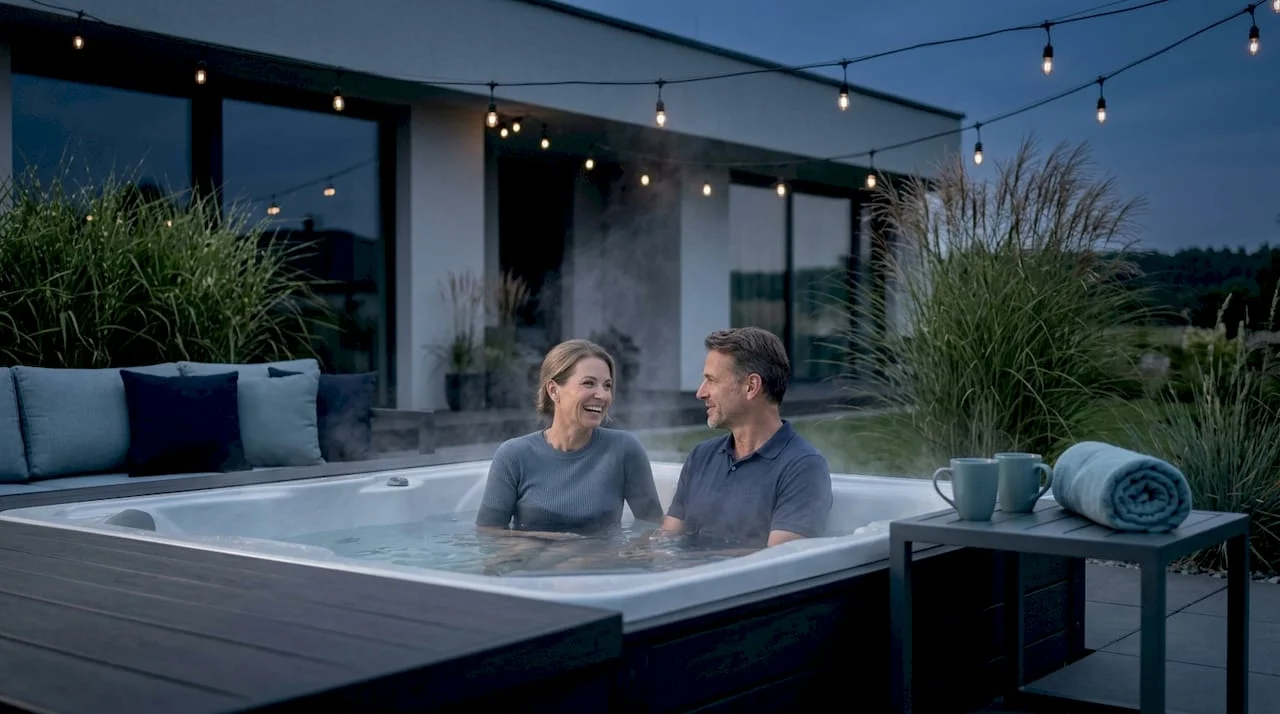
If you’re planning a full outdoor wellness space, consider pairing your sauna with a cold plunge setup from the start. The contrast therapy benefits are real, and designing the layout to accommodate both while the ground is open costs almost nothing compared to adding it later.
— Philipp
Build your backyard wellness retreat with Lifestyleoutdoor

If this guide has you excited about creating your own backyard sauna, Lifestyleoutdoor is ready to help you take the next step. Browse a curated selection of indoor and outdoor sauna models designed specifically for residential wellness spaces, from compact infrared units to traditional Finnish-style outdoor cabins. Complement your sauna with a hot tub or cold plunge to create a true recovery and relaxation retreat in your own backyard. The Lifestyleoutdoor team offers expert guidance, showroom support, and professional installation services throughout Southern California, making the path from planning to your first session as smooth as possible.
FAQ
How long does a DIY sauna installation take?
A standard 5×7 foot sauna typically takes one to two weekends for the structure, with additional time for electrician scheduling and permit inspections. Outdoor builds take longer due to foundation preparation.
Do I need a permit to install a backyard sauna?
In most municipalities, yes. Building and electrical permits are typically required for permanent outdoor sauna structures and any new 240V electrical circuits. Always check your local zoning rules before starting.
What electrical requirements does a sauna heater need?
Sauna heaters require a dedicated 240V circuit with a GFCI breaker, sized to the heater’s wattage. Professional installation by a licensed electrician is strongly recommended and code-required in most regions.
What is the best insulation for an outdoor sauna?
Mineral wool is the best choice for sauna insulation. Unlike fiberglass, it does not off-gas formaldehyde at high temperatures, resists moisture effectively, and provides solid fire resistance.
How do you maintain an outdoor sauna?
After each use, leave the door and vents open for 30 minutes to dry the interior. Inspect heater stones every six months, check GFCI connections annually, and treat cedar bench surfaces with sauna-specific wood conditioner once a year.